Grout is an essential part of any tiled surface, providing stability and a clean appearance. Over time, it can accumulate dirt, stains, and mildew, making it look unsightly. While professional cleaning is an option, many homeowners prefer to tackle grout maintenance themselves. This article explores practical, effective DIY grout cleaning tips and tricks that anyone can implement with common household tools and products. Following a structured approach helps restore the original brightness and cleanliness of grout lines.
Understanding Grout and Its Challenges
Grout is a porous material, which makes it vulnerable to absorbing moisture and dirt. Kitchens and bathrooms often experience the most grime buildup due to spills, soap scum, and humidity. Light-colored grout is especially prone to discoloration, while older grout may develop cracks or lose its binding properties. These factors contribute to the difficulty of keeping grout clean without regular maintenance.
Regular cleaning prevents the need for expensive repairs or replacements. Even small stains, if ignored, can become stubborn and more difficult to remove over time. Recognizing the type of grout—sand-based, epoxy, or cement—also determines the most effective cleaning approach.
Essential Tools and Supplies
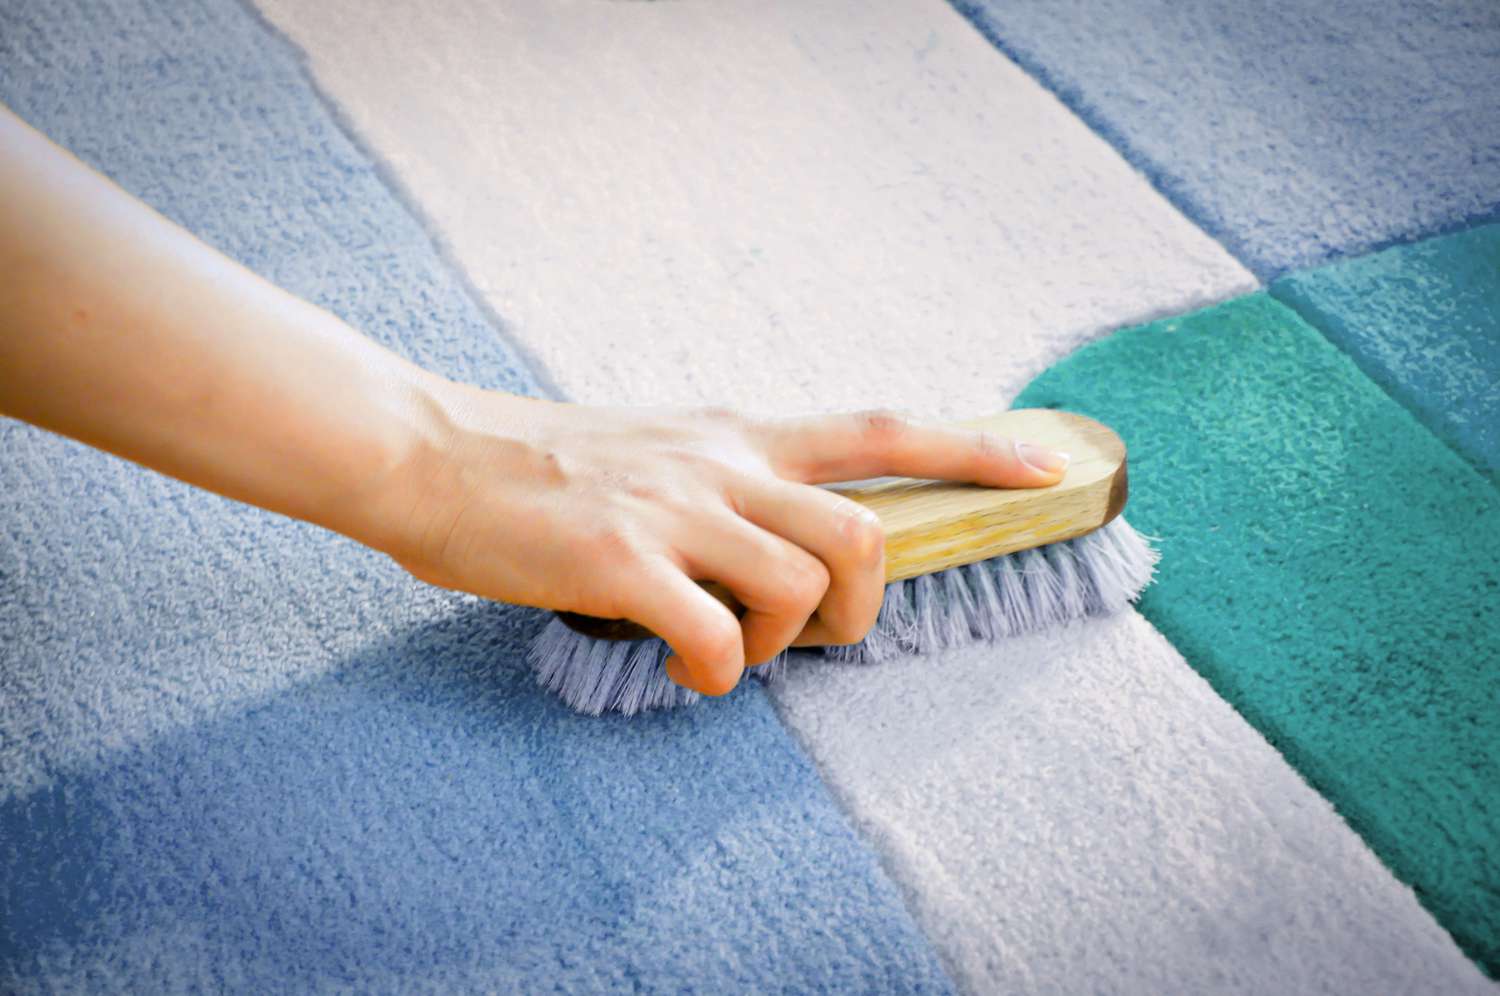
A few simple tools can make grout cleaning more manageable. The most commonly used items include a stiff-bristled brush, a bucket, gloves, and cleaning solutions. Brushes with firm bristles work well to remove embedded dirt, while soft brushes can be used for delicate tiles to avoid scratches.
Household products such as baking soda, vinegar, hydrogen peroxide, and mild detergents are effective alternatives to commercial cleaners. These options are often safer for both the environment and surfaces. For tough stains, a small spray bottle and an old toothbrush can help target stubborn areas. Consistent use of these tools ensures that grout lines remain bright and durable.
Step-by-Step Grout Cleaning Process
- Initial Dusting and Sweeping
Before applying any cleaning solution, it is essential to remove surface debris. Sweeping or vacuuming tiles prevents scratching during the cleaning process. Loose dirt can make grout lines appear darker than they actually are. - Preparing the Cleaning Solution
A mixture of baking soda and water creates a paste that is effective on most grout types. Alternatively, combining vinegar and water can tackle mildew and soap scum. For more challenging stains, hydrogen peroxide may be applied directly to the grout lines. - Applying the Cleaner
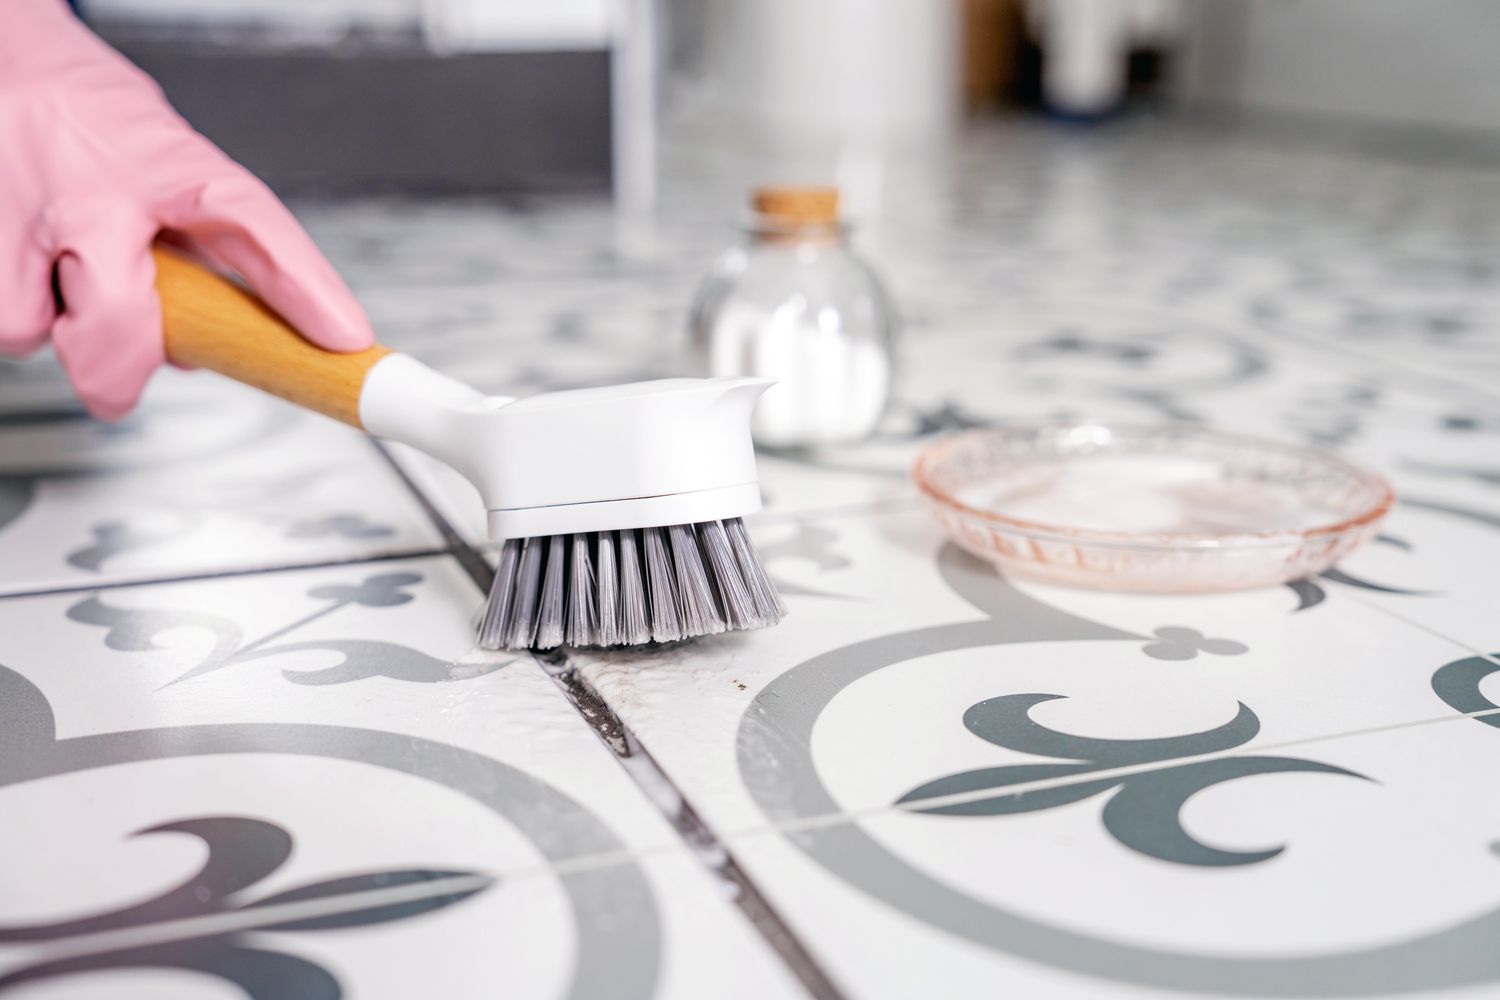
Apply the paste or solution evenly over grout lines. Allow it to sit for five to ten minutes. This dwell time helps lift dirt and stains from the porous surface. - Scrubbing the Grout
Use a stiff-bristled brush to scrub the lines gently. Small, circular motions help dislodge grime without damaging tiles. For corners and narrow areas, a toothbrush or small detail brush is ideal. - Rinsing and Drying
After scrubbing, rinse the area thoroughly with clean water to remove residual cleaning agents. Drying with a microfiber cloth or towel prevents water stains and minimizes the risk of mildew formation. - Repeating as Needed
Persistent stains may require repeating the process. Consistent attention to heavily used areas ensures long-term results and reduces discoloration.
Natural Solutions for Grout Maintenance
Natural cleaning options are both cost-effective and environmentally friendly. Baking soda, with its gentle abrasive quality, removes surface stains effectively. Vinegar acts as a mild disinfectant and can help break down soap scum. Lemon juice offers a natural bleaching effect for light-colored grout.
For routine maintenance, sprinkling baking soda and lightly scrubbing with a damp brush can prevent buildup. Periodically spraying a mixture of vinegar and water keeps grout fresh and free from mold. Combining natural ingredients often enhances their effectiveness while minimizing chemical exposure.
Dealing with Tough Stains
Stubborn grout stains, such as those caused by mold, mildew, or rust, require additional attention. Hydrogen peroxide is particularly useful for organic stains, as it breaks down mildew without harsh chemicals. For rust or deep discoloration, a paste of baking soda and hydrogen peroxide can be left on the grout for several minutes before scrubbing.
Mechanical methods, such as using a steam cleaner, can also be effective for deep cleaning. Steam penetrates the porous surface, loosening dirt and grime. However, care must be taken to avoid damaging delicate tiles or overheating grout lines.
Preventing Grout Discoloration
Preventive care is crucial to maintaining clean grout. Regular sweeping and mopping reduce the accumulation of dirt and grime. Applying a grout sealer creates a protective barrier that minimizes staining and moisture penetration.
Immediate attention to spills or messes prevents long-term staining. In high-traffic areas, more frequent cleaning can extend the life and appearance of grout. Consistent maintenance reduces the need for more intensive DIY cleaning sessions.
Alternative Cleaning Techniques
Steam cleaning, while more technical, offers a chemical-free method for restoring grout brightness. Commercial steam cleaners designed for tile surfaces can simplify the process. Additionally, soft cleaning pads and scrubbers reduce the risk of damage while reaching difficult spots.
Some homeowners may prefer specialized grout cleaning solutions available in local stores. While these products can be effective, combining them with manual scrubbing often produces the best results. It is essential to follow the manufacturer’s instructions to avoid discoloration or tile damage.
Choosing the Right Approach for Specific Areas
Bathrooms and kitchens typically present different cleaning challenges. Bathrooms may face mildew and mold due to constant humidity, whereas kitchens contend with grease and food stains. Adjusting the cleaning solution and technique for each area ensures optimal results.
High-use areas such as entryways or hallways may benefit from more frequent preventive measures. Light brushing, occasional sealing, and regular observation help maintain grout integrity and appearance.
When DIY Cleaning Is Not Enough
Sometimes grout deterioration or deep staining exceeds the capabilities of DIY methods. In such cases, professional assistance for grout cleaning in Adelaide may be considered. Professionals have access to advanced tools and solutions that restore grout efficiently while minimizing damage to tiles.
Nonetheless, consistent DIY maintenance significantly prolongs the time before professional intervention becomes necessary. Routine care helps maintain a clean, appealing tiled surface that enhances overall home aesthetics.
Conclusion
Grout maintenance need not be a complicated task. With proper tools, natural cleaning solutions, and a structured routine, even heavily used grout can regain its original appearance. Regular attention, combined with targeted techniques for tough stains, ensures long-lasting cleanliness.
Implementing these DIY grout cleaning tips and tricks not only preserves the appearance of tiled areas but also extends their lifespan. By adopting a proactive approach, homeowners can enjoy bright, fresh, and hygienic surfaces without relying solely on professional services. The right combination of consistency, care, and effective methods transforms grout cleaning into a manageable and rewarding task.